How to Solder
- Main Equipment for Soldering
- Accessories
- How to Tin a Soldering Iron Tip?
- A Guide to Soldering
- How to Solder Wires?
- How to Solder Headphones Wires?
- How to Solder Radio Components onto the Board?
To solder or not to solder, that is the question. Of course to solder! If you don't know how to do it - this article is exactly what you are looking for. In this article we will go through the main points that rookies will face during the soldering process. Let's start!
Main Equipment for Soldering
Before you start soldering, you need to make sure, whether you have everything you need. For soldering, you will need primarily main tools and accessories, because you can do nothing without them:
- Soldering iron or soldering station
- Solder
- Flux
- Desoldering tape
Let's consider in more detail what you need to pay attention to when choosing a soldering iron, solder, flux and desoldering tape.
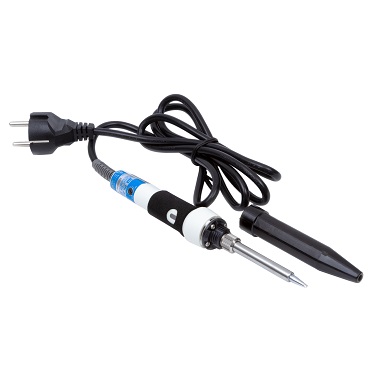
Soldering Iron
The variety of soldering irons in the modern market is simply impressive! Information about the quality and reliability of the soldering iron can be easily obtained from the reviews. We will tell you about the main selection criteria - the power of the soldering iron. Depending on the scope of application, all soldering iron can be divided into the following groups:
- 30-40 W – soldering iron for radio components soldering;
- 60-70 W – multi-purpose soldering iron;
- 80-100 W – soldering iron for massive parts and thick wires.
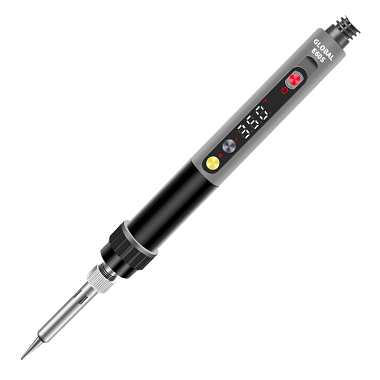
You will have a powerful soldering iron that will cope well with lead-free solders, soldering wires and normal soldering. Due to temperature control, you can minimize the likelihood of overheating of electronic components when soldering on boards.
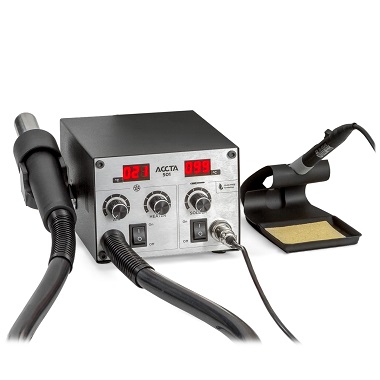
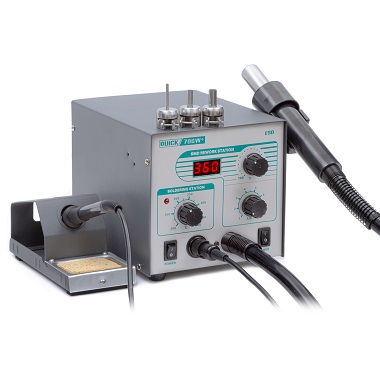
Choose soldering ironSoldering Station
Soldering stations are much more convenient and efficient compared to soldering irons. Most soldering stations are equipped with temperature controlled 30 W to 70 W soldering irons and hot air guns. You can undertake complex electronics repairs even using an inexpensive station. However, if you are a beginner repairman who doesn't solder regularly, you can get by with any medium-powered soldering iron.
Solder
Solders are a little bit easier. Conventionally, they can be divided into 2 groups:
- lead solder;
- lead-free solder.
Most modern electronics are manufactured with lead-free solders, because lead is noted for having a hazardous nature. Lead-free solders provide a stronger bond if compared to standard lead solders. Although this is practically not noticeable while soldering. But it will make a soldering process more difficult for beginners, as lead-free solders have a higher melting point, they do not spread well and require the use of expensive fluxes. Not only beginners, but most professionals, choose not to use it. Therefore, the ideal solution would be to use traditional tin-lead solders. They have a different ratio of lead and tin depending on the type of soldering.
| Tin (Sn) % | Lead (Pb) % | Melting point | Designation | Viscosity |
|---|---|---|---|---|
| 63% | 37% | 183 | Precision soldering | Low High |
| 60% | 40% | 183..190 | PCB | |
| 50% | 50% | 183..215 | Electronics | |
| 45% | 55% | 183..227 | Plate steel | |
| 40% | 60% | 183..238 | Plate steel (welding) |
As evidenced in practice, the use of solders with a content of 60% tin and 40% lead is the most common. The melting point of this solder is 183-188 °C, which makes it possible to solder with soldering irons of any power. You can perform almost all soldering work with this kind of solder.
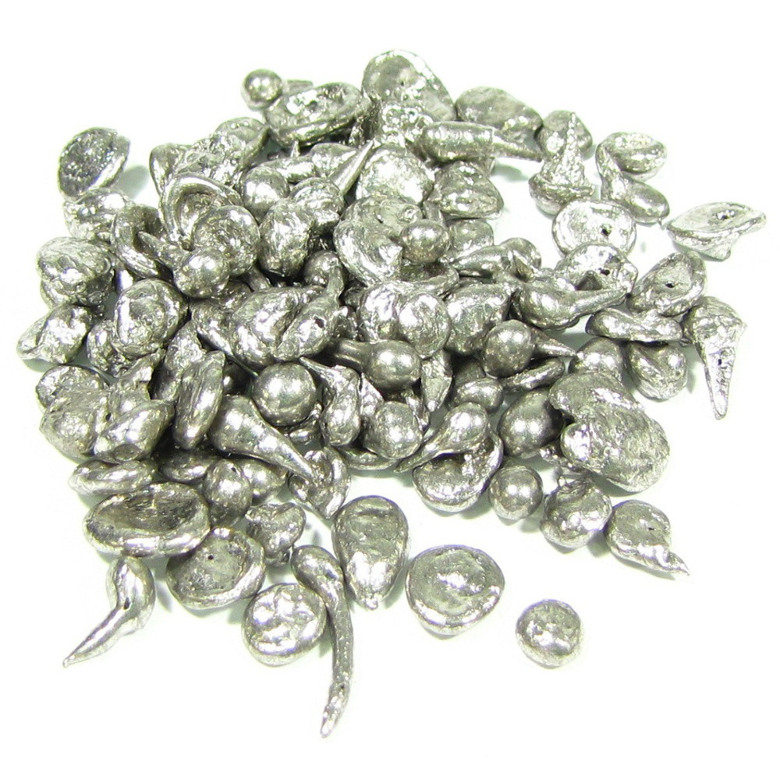
We also recommend having some Rose's alloy in stock. It is a low-melting solder with a melting point of 90-100 °C. It is very useful for dismantling electronic components that are sensitive to overheating. It also can be used to tin contacts on the board. With a soldering iron, Rose's alloy is mixed with molten brazing solders on the board. This reduces the soldering temperature during repairs.
Fluxes
For good quality soldering, you must use flux. Most modern solders already include flux. But to remove the oxide film from the surfaces that you will be soldering, they need to be additionally coated with flux. This will ensure uniform solder flowing and improve the tinning process. High-quality flux is the key to good soldering.
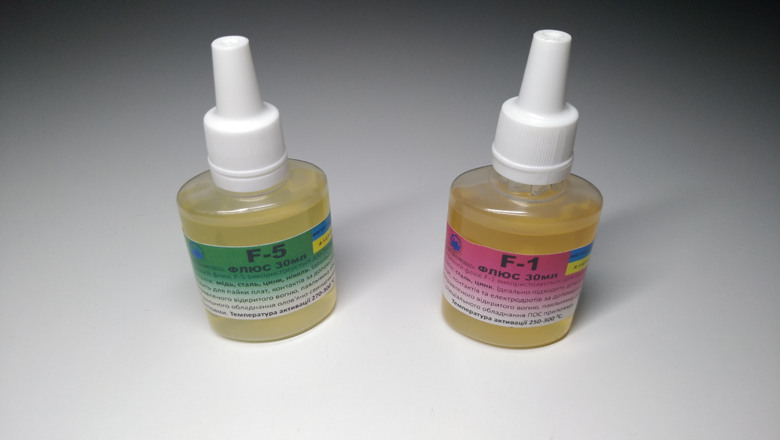
Conventionally, all fluxes can be divided into 3 types:
- Neutral fluxes.
- Medium active fluxes.
- Active fluxes.
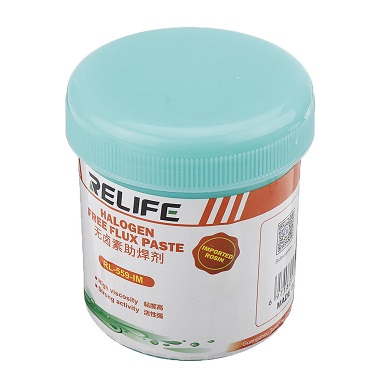
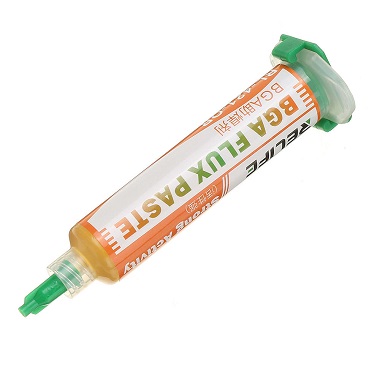
Neutral fluxes are convenient to use and mostly do not require washing off. They are perfect for standard soldering, as well as for soldering SMD and BGA components. Available in liquid or paste form.
Medium active fluxes are widely used both in soldering of oxidized surfaces, as well as in standard soldering and in soldering of electronic components. Most of them do not require washing off, since their active properties are manifested only at a certain temperature, for example 150 °C, and are lost when cooled to room temperature. Unlike neutral fluxes, they provide corrosion-resistant soldering.
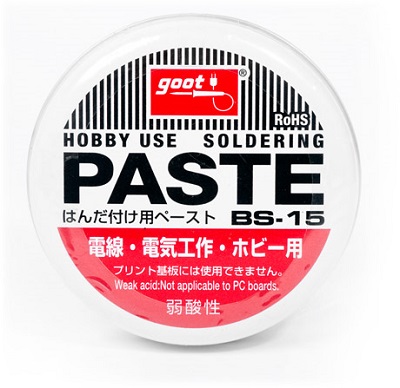
Active fluxes are practically applied in soldering of metals that are difficult to tin with standard fluxes. These metals include:
- common and stainless steel;
- aluminium;
- nickel plating metals.
The best-known representative of active fluxes is orthophosphoric acid. Active fluxes make the soldering process easier, but they have a pungent odor and are toxic. Therefore, you should solder in well-ventilated areas and do not forget to wash off the flux residues after soldering.
Active fluxes can destroy circuit elements and PCB's tracks, so they're not recommended for soldering electronic boards, and SMD components. This even applies to the situations when the flux residues are removed after soldering.
Also, do not forget about rosin. Its main advantage is that it does not require washing off, since it is a wonderful dielectric. It's worth remarking that in its pure form, the rosin is barely used for modern devices repair. However, almost all fluxes are made on its basis. You can make this kind of flux by yourself. You will need:
- pure rosin (not activated);
- ethylic alcohol.
Rosin must be crushed to a powder state and diluted with ethyl alcohol in a ratio of 2:3.
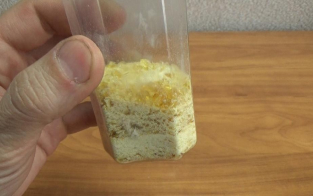
Unlike in soldering with standard rosin, this solution can be applied directly to the soldering area. And what is most important - you don't need to wash off the residues.
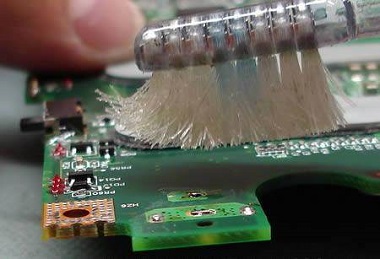
After all you have read, you probably have a question - how to wash off the flux, and what do you need to do it? It all depends on what you solder. If it is soldering on the board, you can use both ordinary alcohol and special washers for the boards to wash off the flux.
Just apply it to the place of soldering using a small brush (you can use an old toothbrush), clean the flux residues and then wash it off. Various solvents for paint or acetone are good for cleaning active flux residues when soldering wires or
rough soldering of sheet metals.
Desoldering Wick
The tape for removing solder will be particularly useful for beginners, since it is difficult to guess with the amount of solder needed at first. With the help of tape for desoldering, you can easily remove the leftovers. It consists of small flux-coated copper wires that are woven together as a tape of different width (0,8 mm, 1,5 mm, 2,5 mm).
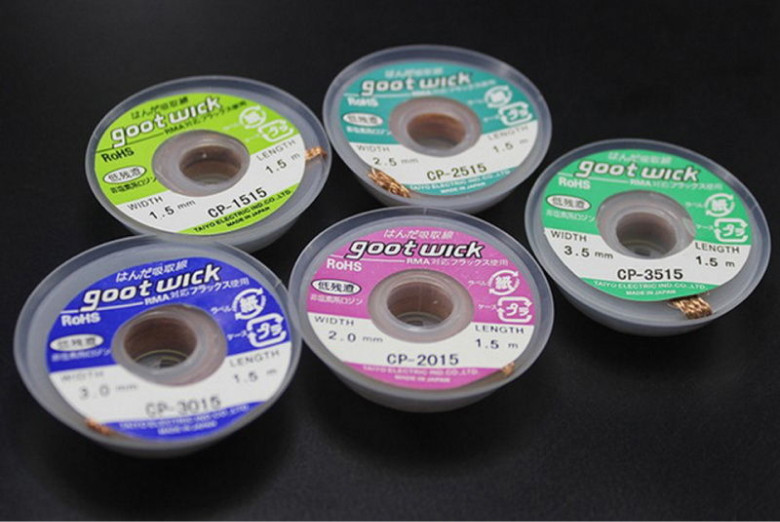
To remove solder residues, place the tip of the tape in the soldering area and press it on top with a heated soldering iron. It functions like a sponge that absorbs water. The tape will absorb the solder residues, and you just cut off the used piece of tape. Everything is that simple!

Accessories for Soldering
In order to make soldering safe and convenient, you will need the following auxiliary tools:
- soldering iron stand;
- "third hand";
- soldering iron tip cleaners;
- hand tools.
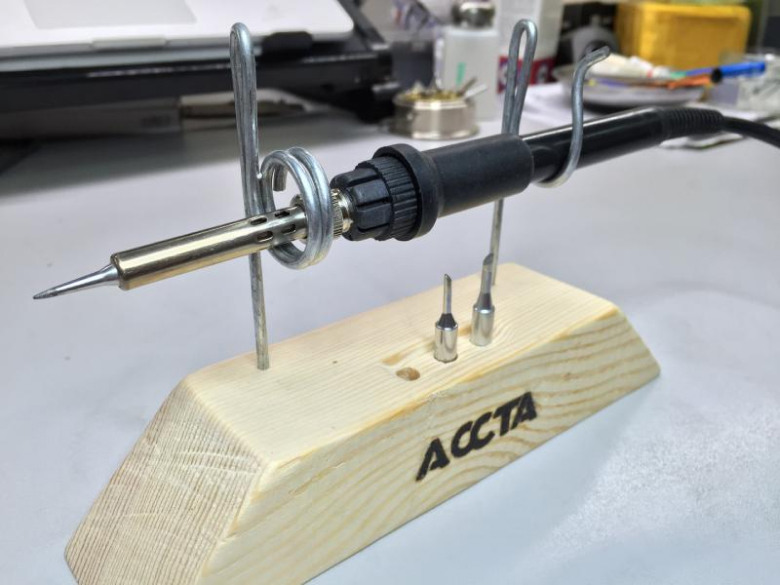
Soldering Iron Stand
Despite the fact that we attributed the soldering iron stand to auxiliary devices, it plays a very significant part in the soldering process. The soldering iron should have its specific place on your working table and be securely fixed. This will protect you from accidental burns during the soldering process, as well as reduce the likelihood of burning the table. When choosing a stand, pay attention that it has a place to keep the sponge for cleaning the tips - this is much more convenient during the soldering process.
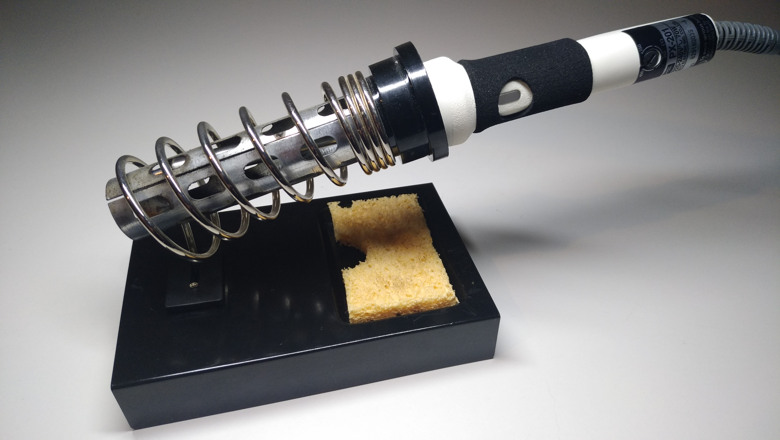
You can also make a stand yourself. Here is the example of a homemade stand.
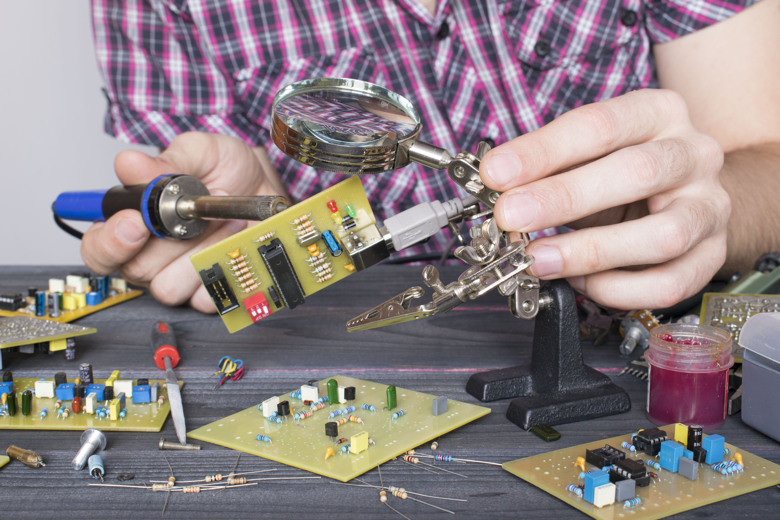
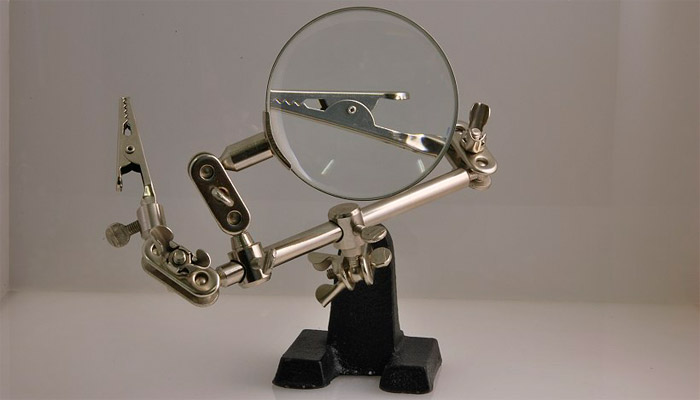
A "Third Hand"
When soldering wires and small boards it is very convenient to use the so-called “third hand”. It got its name for a reason. By means of clamps, you can securely fix soldered objects in any position. There is a wide range of the "third hand" tools - from ordinary tripods with a clip, to models with magnifying lenses and a holder for a soldering iron.
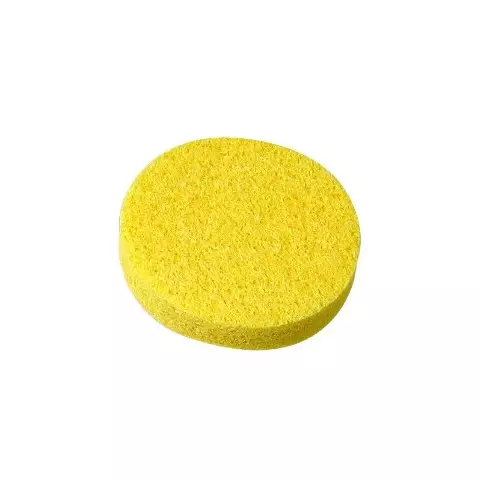
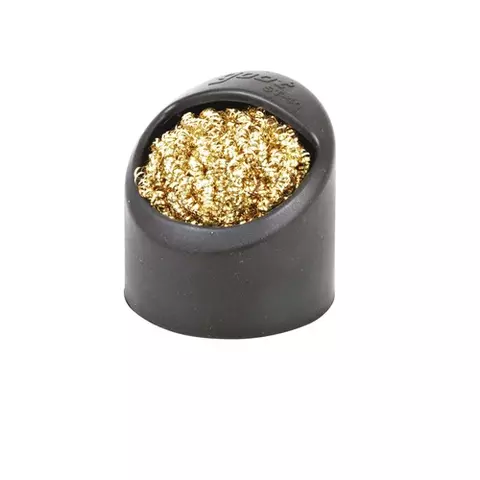
Cleaners for Soldering Iron Tips
During soldering, the tip is oxidized quite quickly on exposure to high temperature, and requires periodic cleaning from oxides and soot. Cellulose sponges and shaving are used to clean the tips. Using them, you will constantly keep the tip clean, and this directly affects the convenience of soldering. Also, they can easily remove excess solder from the tip.
Another important accessory is soldering tip refresher. It is applied mainly for nickel-plated tips, which are heavily soiled. Unlike ordinary copper tips, they cannot be cleaned with abrasive tools. Therefore, if such a tip stopped taking solder and conventional methods do not help, do not rush to throw it away - usually the refresher helps to restore its properties.

Hand Tools
Hand tools that will be useful when soldering include:
- tweezers;
- cutting pliers;
- solder assist repair tools set..
It is quite convenient to use tweezers when soldering and removing electronic components on boards. Both ordinary straight and curved tip tweezers are good for this. Antistatic tweezers are used for soldering elements that are particularly sensitive to static stresses.
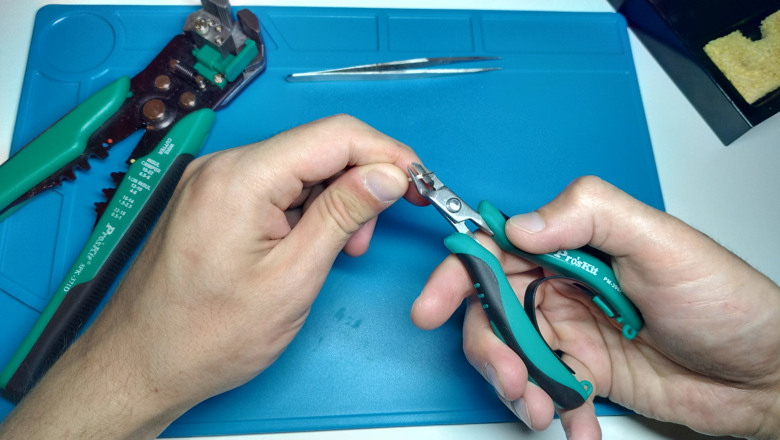
Being widely used in everyday life, cutting pliers are indispensable during soldering, especially when soldering wires. You can also trim the remnants of the radio components leads when soldering them to the board.
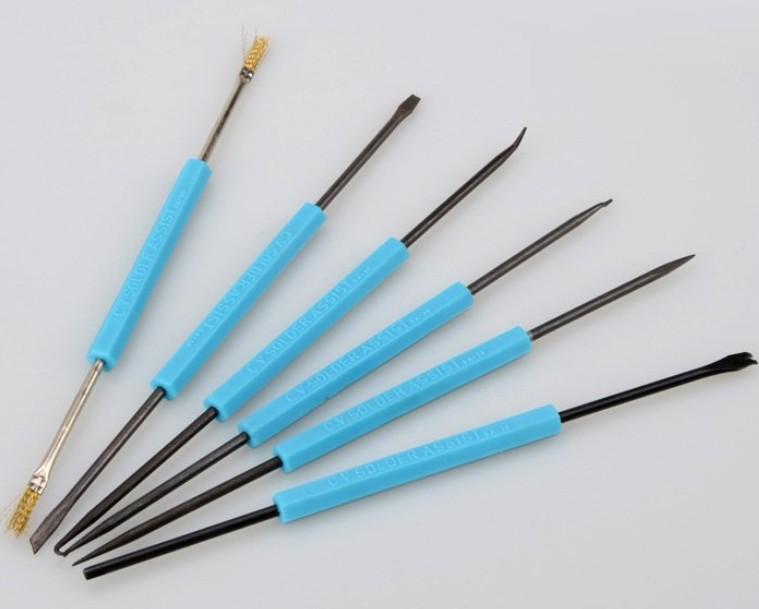
Solder assist repair tools set is widely used in soldering and dismantling. It consists of various types of clamps and holders, which are useful when soldering components to the board. This set also includes brushes for cleaning boards from solder and flux residues.
How to Tin a Soldering Iron Tip?
If you are fully equipped with soldering equipment, you can proceed directly to the process itself. First, you need to tin the soldering iron tip. As a rule, soldering irons are equipped with two types of tips:
- copper tips;
- nickel-plated copper tips.
A copper tip can be given the necessary shape before tinning - a cone, a one-side cut, a two-side cut - using abrasive material, for example, needle file. You cannot use abrasive materials for a nickel tip, since you will destroy the protective coating and it will not tin at all.
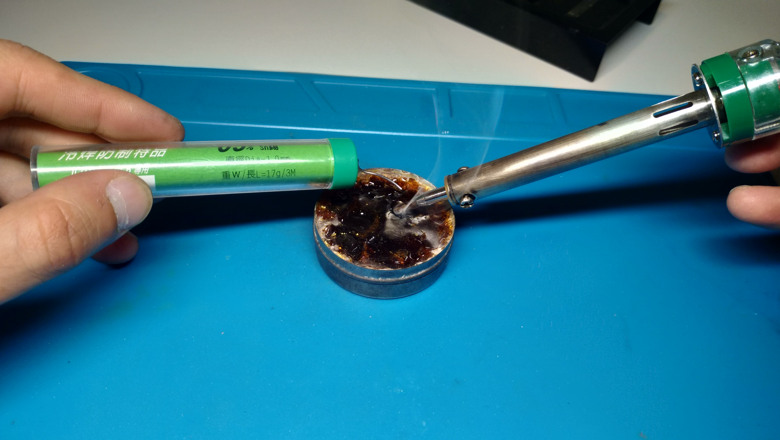
The process of tinning a new tip, which has not been used yet, is the same for both types of tips. You need to heat up the soldering iron to operation temperature, immerse the tip in rosin, and cover it with solder immediately after that.
Solder should evenly cover the point of the tip. To make solder stick to the tip better, the tinned tip can be rubbed on a board or a dense piece of cardboard. In the process of soldering, it is always necessary to ensure that the tip is clean from oxides and covered with a thin layer of solder. And most importantly, do not allow the tip to overheat, especially the nickel-coated tip. Be sure to remove the flux residues after every soldering. You can wipe the tip with a damp paper towel or use special metal shavings.
A Guide to Soldering
So, you tinned the soldering iron and prepared it for soldering. Now you need to prepare the components that you will solder. First of all, the components must be cleaned and degreased. Various kinds of isopropyl alcohol-based cleaners or solvents are suitable for this. If there are signs of corrosion on the components, they also need to be eliminated - depending on the nature of the surface, this can be done mechanically or using special chemical agents.
After the surfaces are cleaned, you can start to solder them. Components must be securely fixed so that they are immovable during the soldering process. You can use the "third hand" for this. It is necessary to apply flux to the surfaces that will be soldered together. No need to use a big amount of it - the main thing is to cover completely the soldering surfaces. Take the solder and… two types of soldering are possible:
- applying solder to a soldering iron tip and transferring it to the soldering area;
- applying solder directly to the soldering area.
When applying solder with a soldering iron, a small amount of solder must be melted at the point of the tip. After that, press the components in the soldering area with a tip. The flux will evaporate in the process of soldering. Its residues can be washed off or not - it all depends on the type of flux you use. This method is suitable for soldering small parts.
If you are soldering by applying solder directly to the soldering area it is necessary to heat up the components with a soldering iron to the soldering temperature, and apply solder to the soldering area immediately after that. When melted, the solder fills the space between the solder components and ensures a reliable connection. As a rule, massive parts and radio components are soldered on the boards this way.
In the process of soldering using both ways, it is important to choose the appropriate temperature of the soldering iron, since the quality of soldering will directly depend on this. In molten form, the solder should be in a state close to liquid. Surely everyone remembers a scene from the “Terminator 2: Judgment Day” movie at a metallurgical plant, when the liquid terminator T-1000 recovered from melted pieces. Remember? The solder should look like those melted pieces :)
The main signs that the temperature of the soldering iron is not high enough:
- Solder becomes frosted after cooling.
- Solder does not spread well on the surface.
- The solder has a granular structure after cooling.
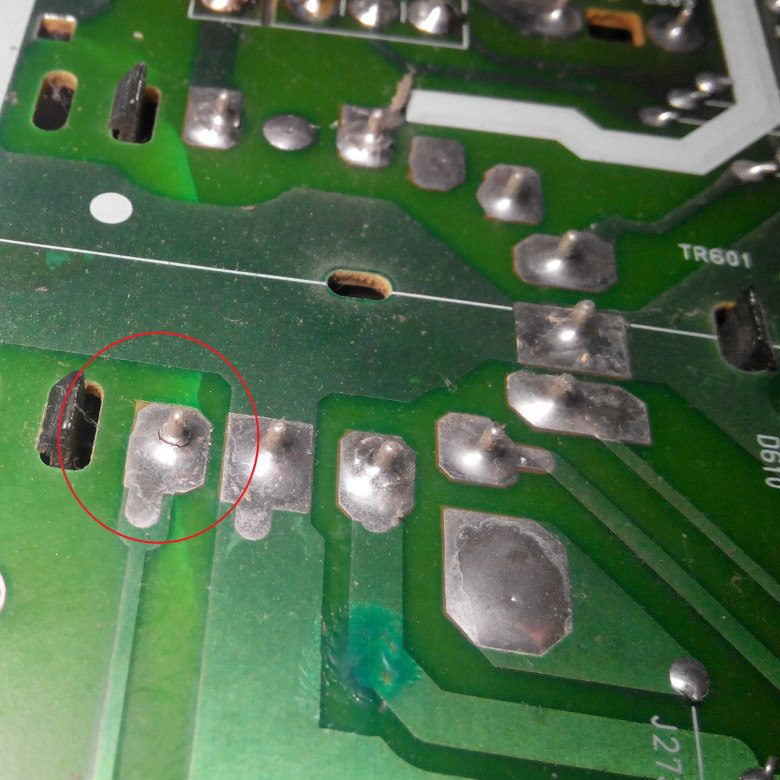
As a result, you will receive the so-called cold soldering. Soldering with an overheated soldering iron will also not lead to anything good - the solder will oxidize very quickly and tin poorly. In both cases, you end up with a connection of parts that will have poor mechanical strength and will simply fall to pieces over time.
As a rule, the temperature of the soldering iron is selected individually for each type of soldering. At the same time, for most types of POS-60 soldering, the ideal temperature is 240-300 ° C - it is necessary to start from the lowest value and gradually increase it whenever required. With the right temperature, you should end up with a shiny compound.
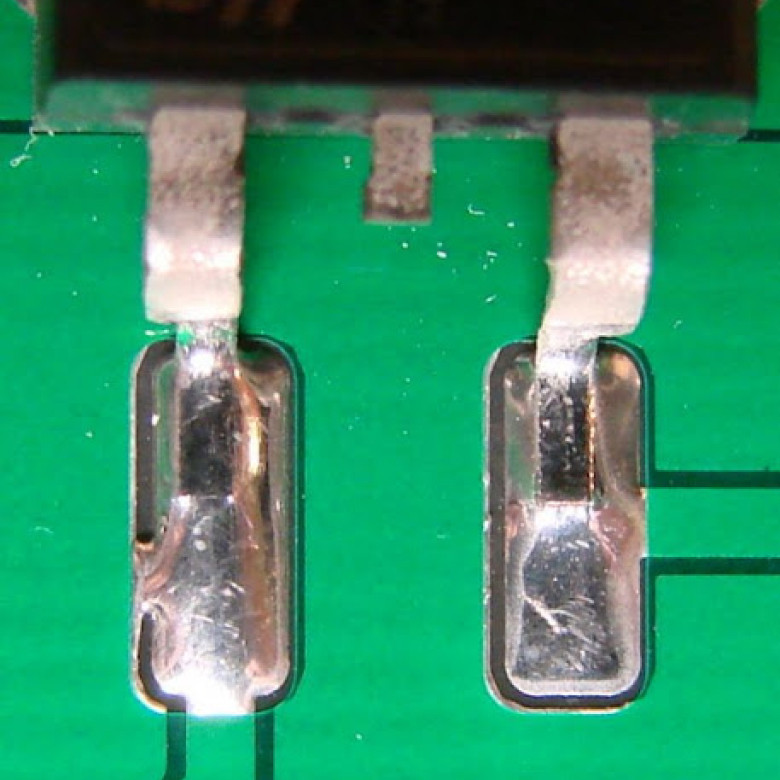
The amount of solder should not be too much, but at the same time, it should be enough to fill evenly the space between the parts. Most importantly - do not keep the soldering iron in the soldering area for a long time. It takes 3-4 seconds for the solder to melt and fill the space between the parts.
We have reviewed the basics of soldering, and now we will go through the most common applications of soldering in everyday life.
How to Solder Wires?
Soldering wires is the most common need. This can be soldering the wires of the electrical network of your house, soldering wires in a car, soldering headphone wires (we will discuss in more detail later), etc. The result is a strong, reliable connection. Let's review the process of soldering wires step by step:
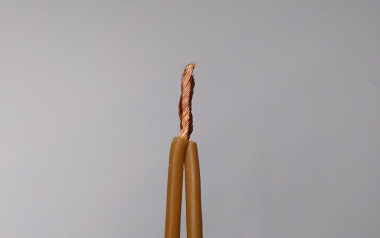
- Cut the tips of the wires that you will connect evenly with pliers, and remove 3-4 cm of insulation layer.
- If necessary, clean and degrease the wires in the soldering area.
- Connect the wires together by twisting. There are several ways to twist the wires. The most common is simple sequential twisting. As a rule, parallel twisting is used in the electrical junction boxes.
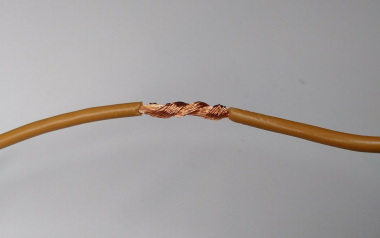
- Cover the connection of wires with flux and start applying solder. During soldering, the wire must be twisted gradually so that the solder lies in an even layer and fills all the voids between the wires. It is very important to choose the right flux type depending on the material of the wires. Ordinary rosin is suitable for soldering copper wires, but only active flux should be used for soldering aluminum wires.
- After the solder has cooled down, apply insulation tape or heat shrink tubing to the connection area.
 Sequential twisting
 Parallel twisting
This technique is useful for soldering electrical wires. If you need to solder the wire to any surface, for example, to the contacts on the board, then the tips of the wires must be tinned first.

To do this, remove the insulation from the wire and degrease it. After that cover it with flux and apply solder. You also need to tin the surface the wire will be soldered to. After that, the soldering process will be easy and fast, and the connection itself will be of high quality and strong.
How to Solder Headphones Wires?
Probably, each of us has a bunch of old non-working headphones in the drawer. If you have already decided to learn how to solder, then it would be a shame not to try to resurrect at least one of them.
Broken wire is the most common cause of headphones failure. It would seem that it is enough to simply determine the break point and re-solder the wires. But it's not that easy. In the process of soldering the wires of the headphones, you have to deal with the problem of tinning the wires. The wires of the headphones have a varnish coating, to which the solder simply won't stick. Therefore, first of all, it is necessary to delicately get rid of it. There are several ways to do this:
- Mechanical: using a scalpel or clerical knife, carefully clean the layer of varnish insulation. Hold the blade perpendicular to the wire.
- Using fire: burn out the layer of varnish insulation with a lighter (not recommended).
- Using active fluxes: the most optimal method. It is enough just to cover the tips of the wires with active flux and tin them with a soldering iron. It is better to tin such wires on a piece of wood. The movement of the soldering iron should be as if you are rubbing solder into a wire.
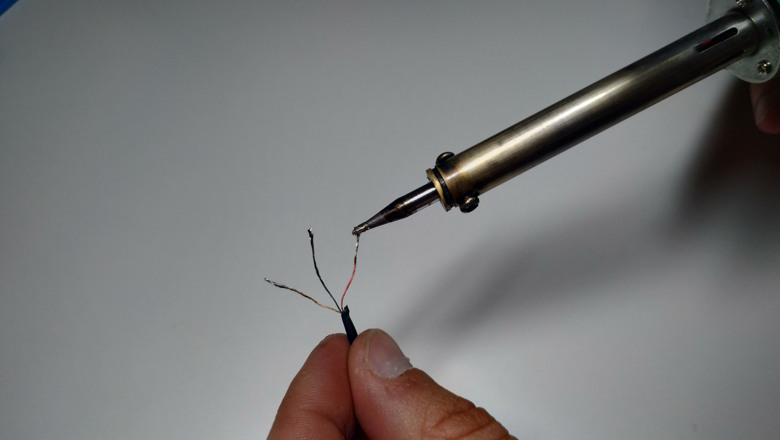
Wires tinned in this way can be easily soldered both to each other, and to the headphones connector.
How to Solder Radio Components onto the Board?
You already know how to solder wires, so let's move on to a more difficult one - soldering radio components onto boards. Someone faced this at school in radio hams’ group, for someone it will be a new experience. Lets' review (and remind for someone) the nuances of soldering different types of radio components.
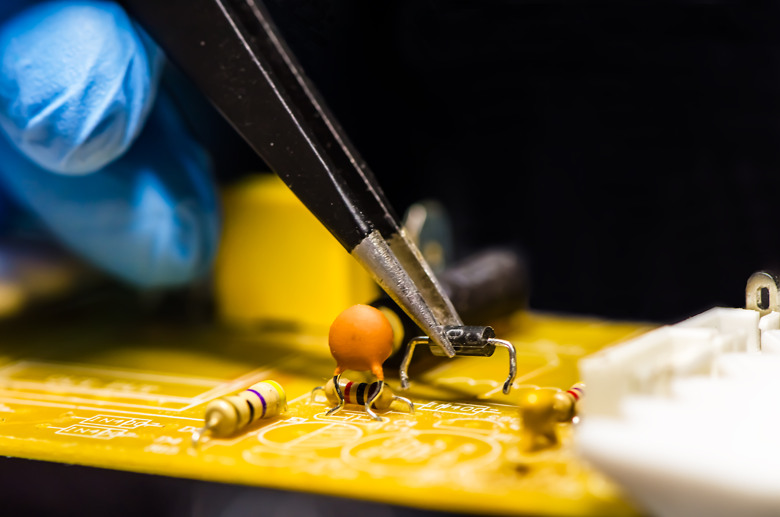
Soldering resistors, capacitors and diodes with leads
The technology of soldering and desoldering of this type of radio components is not complicated, but it requires well-coordinated work with a soldering iron using auxiliary hand tools. Radio components of this type usually have only two leads, therefore, when soldering, it is necessary to warm up the solder on each of the leads with a soldering iron in turns, and gradually pull the component out of the seat.
After the component is desoldered, it is necessary to free the holes on the board from solder residues. This can be done with a soldering iron and a thin, sharp tool, such as a regular toothpick.
Soldering a new element to the board:
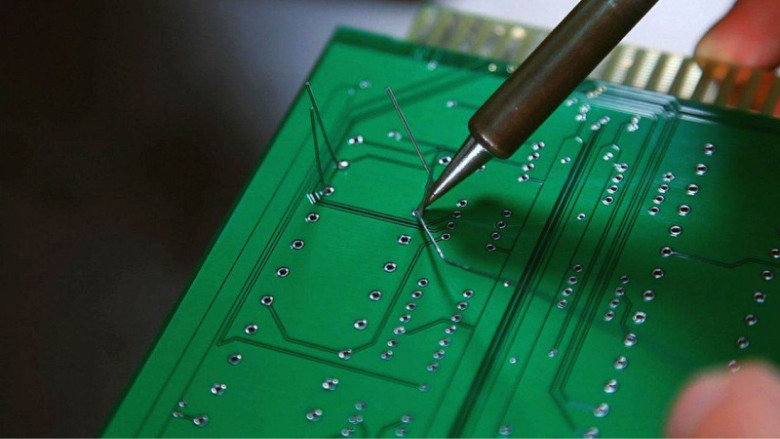
- Apply flux to the holes on the board.
- Insert the leads of the new component into the holes and solder them with a soldering iron.
- If the leads (legs) of the component are too long and protrude strongly from the board, cut them off with pliers.
- Wash off the remains of the flux, if necessary.
Soldering SMD components
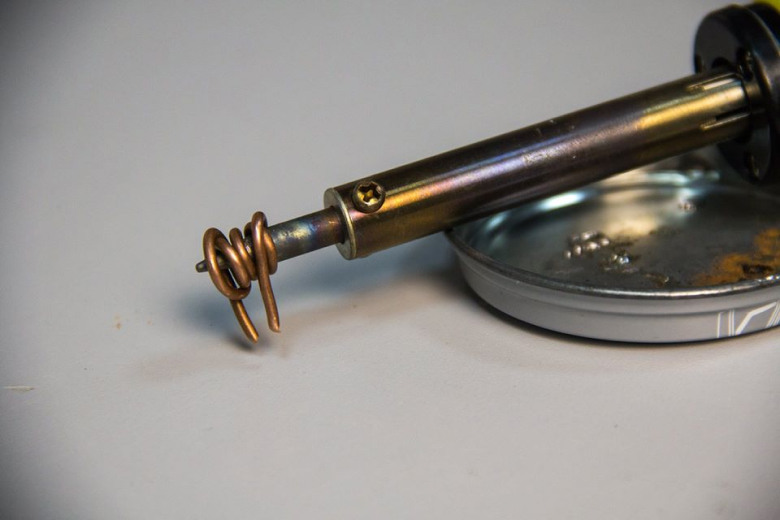
Soldering of SMD components is carried out by surface mounting on the contacts on the board. Today, 90% of the soldering of radio components is performed in this way. As a rule, special soldering tips for SMD are used to solder non-working radio components, but in fact, you can make such a tip yourself. To do this, you need a copper wire with a diameter of 1 mm. It must be wound several times around a regular soldering iron tip as shown in the photo.
The process of soldering SMD components is as follows:
- Apply flux to the contacts of the SMD component.
- Warm up the contacts with a tip you made, and remove the non-working element with tweezers.
- Install a new SMD component.
- Hold it with tweezers and solder each contact in turn with an ordinary tip. Or you can do it all in one go with our DIY SMD component tip.
- Wash off the remaining flux if necessary.
Well, congratulations! First of all, because you got safely to the end of this article ;) We also hope that we were able to help you acquire and master basic soldering skills. As we said at the beginning of this article, soldering is an ongoing practice. So practice, practice, and practice again! The main purpose of this article is to take you to the fascinating world of soldering and provide you with the basics, and the rest of the information you can easily find in "the almighty Google", or in our articles and videos. We will also be happy to advise you on any questions regarding the selection of soldering equipment – here's the contact info of our technical support. Please, be our guest!
And remember the most important thing - there is never too much rosin! :)